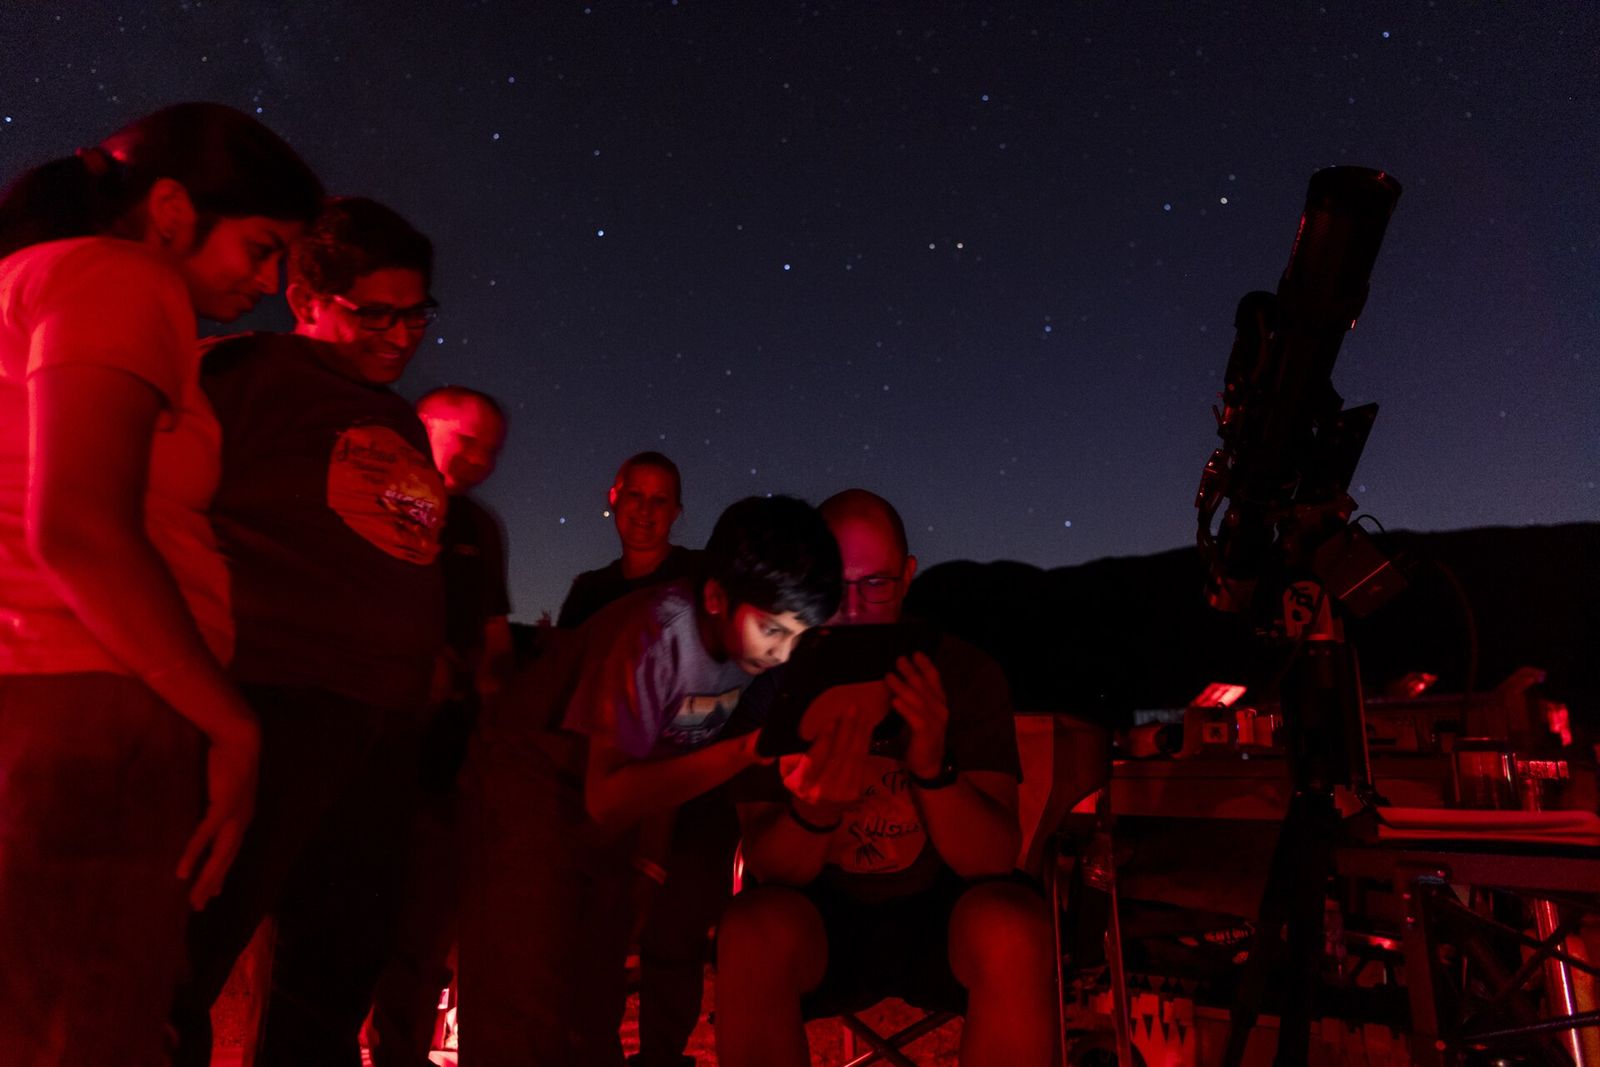
A few years ago, photographing stars needed a dedicated camera, a tripod and a lot of patience. Today, many phones can take a recognizable picture of the night sky. Results vary a great deal between models, and you will not get images like the ones from large telescopes, but you can record the Moon, bright planets, constellations and, from a dark site, even the Milky Way.
NASA's Night Sky Network sums up the method in four steps: keep the phone steady, lock the focus, use a long exposure, and process the result. This field note expands on each.
Step 1: keep the phone absolutely still
Night photos need long exposures, often several seconds or more. During that time, even the tiny movements of a hand will blur every star into a squiggle. A steady phone is the most important single improvement you can make.
- Use a small tripod. Inexpensive phone tripods and clamps are widely available. NASA's guide notes that the author of one example bought theirs at a dollar store.
- Improvise if needed. A wall, a rock, a car roof or a folded jacket can work. Wedge the phone so it cannot slide.
- Use the timer. Set a two- or three-second self-timer, or use wired earphones or a Bluetooth remote as a shutter button. This stops the tap of your finger from shaking the image.
Many phones detect when they are on a tripod and automatically allow longer night exposures. If yours does not, it may be worth trying a camera app with manual controls.
Step 2: lock the focus on something far away
Autofocus struggles in the dark. It may hunt back and forth or settle on the wrong distance. Point the phone at the brightest thing in the sky, such as the Moon, a planet or a bright star, or at a distant streetlight. Tap the screen to focus, then hold your finger on that spot to lock focus and exposure if your phone supports it. Some camera apps offer a manual focus slider: set it to infinity, often shown as a mountain symbol.
Step 3: give the sensor time to collect light
The longer the shutter stays open, the more light the sensor gathers.
- Night mode. Most recent phones combine many short exposures into one brighter image. On a tripod, night mode may offer exposures from a few seconds to around 30 seconds. Choose the longest setting it offers.
- Manual or pro mode. If your phone has one, start with an exposure of a few seconds, as NASA suggests, then increase it. Set the ISO (sensitivity) high enough to show stars without excessive noise, often somewhere in the hundreds to low thousands. Take a test shot, look at it, and adjust.
- Turn off the flash. It cannot light the sky and will only illuminate the nearest objects.
Earth's rotation means stars slowly move across the frame. With a wide phone lens, exposures of up to about 15 to 30 seconds usually keep stars looking like points. Longer exposures will start to show short trails. That can be attractive in its own right, but it is not what most people expect.
Shoot in RAW format if your phone supports it. RAW files keep more information, which helps with editing later.
Step 4: edit with a light touch
All astrophotography involves processing. Even simple adjustments in your phone's built-in editor help:
- Raise the contrast and the shadows slightly to bring out fainter stars.
- Adjust the white balance to reduce the orange cast from streetlights.
- Reduce noise gently. Too much will smear faint stars away.
- Crop to remove distracting edges.
Resist the urge to push the sliders too far. Over-edited night photos look artificial, and keeping a little darkness in the sky usually looks more natural.
What to photograph first
The Moon
The Moon is bright, large and the easiest target. Ironically, phones often overexpose it as a featureless white blob because they try to brighten the dark surroundings. Tap on the Moon and slide the exposure control down until surface detail appears. A crescent or half Moon shows the most texture along the boundary between light and shadow. Our Moon field note explains the phases.
Twilight scenes
The hour after sunset is often the most rewarding time. A crescent Moon and a bright planet such as Venus above a silhouetted landscape makes a beautiful picture with very little technique. There is still enough light for the phone to work well.
Constellations and the Milky Way
Constellations such as Orion or the Southern Cross are good next targets. The Milky Way needs a truly dark site well away from city lights and a night without a bright Moon. DarkSky International explains how artificial light at night brightens the sky and hides fainter stars. Use the darkness planner to find a window when the Sun is well below the horizon and the Moon is down.
Through a telescope or binoculars
You can photograph the Moon through the eyepiece of a telescope by holding the phone lens carefully against it. Adapters that clamp the phone in place make this much easier. Never do this with the Sun.
Practical tips for the night
- Bring a power bank. Cold drains batteries quickly, and long exposures use power.
- Dim the screen. Use your phone's dark mode or lowest brightness to protect your night vision, and the night vision of anyone near you.
- Include a foreground. A tree, a rock or a building gives the picture scale and makes it more than a field of dots.
- Take many shots. Experiment with exposure, ISO and framing. Practice is the main ingredient in better results.
For finding your way around the sky, read how to find north and south using the stars. If you want to catch a meteor on camera, the meteor shower field note explains when to try.
Sources and further reading:
- NASA Night Sky Network: Astrophotography with your smartphone
- NASA: A guide to smartphone astrophotography (PDF)
- DarkSky International: Light pollution
Original field note · Published 11 November 2026.