
Follow the light, not just the calendar.
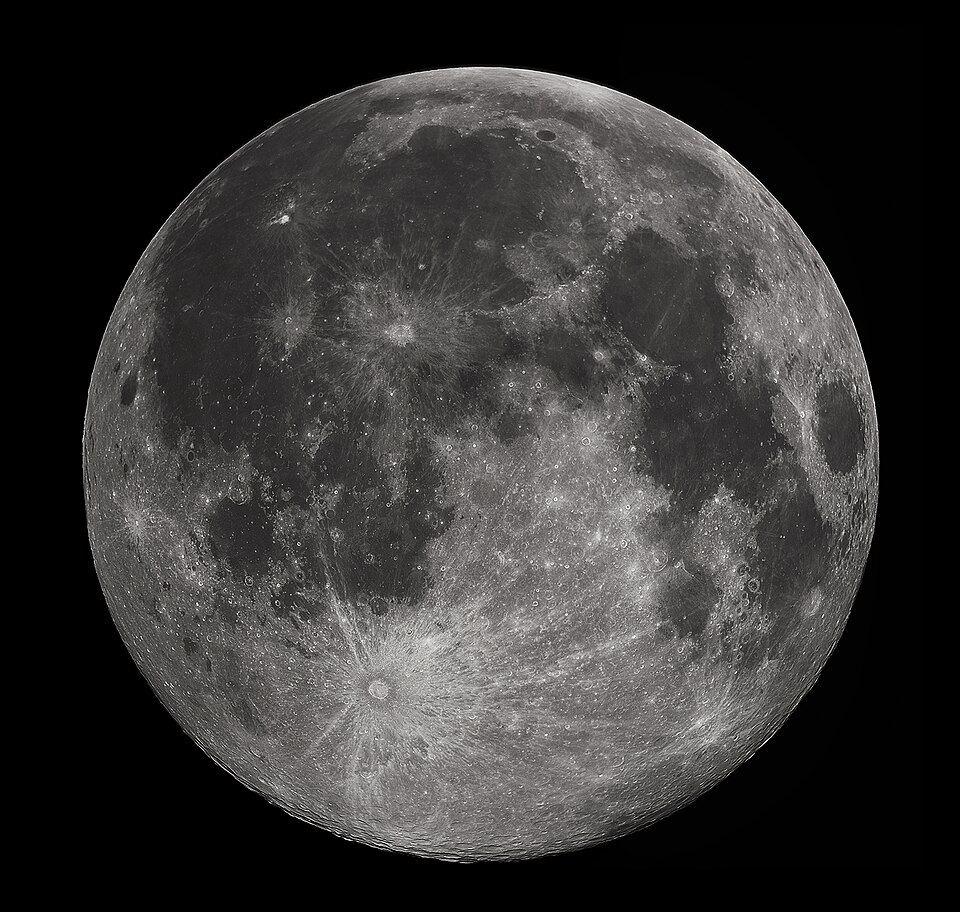
The Moon reflects sunlight. As it travels around Earth, we see different amounts of its sunlit half. The phase cycle runs from new Moon through waxing crescent, first quarter, waxing gibbous and full Moon, then back through the waning phases. A full cycle averages about 29.5 days, so phase dates shift from month to month.
The percentage in the planner describes the fraction of the visible lunar disk illuminated at the middle of the selected noon-to-noon window. It is not a brightness measurement. The diagram is intentionally schematic: the tilt you see in the real sky depends on location, time and how you hold your view.
Use the Moon’s altitude curve to see whether it is above the horizon at a convenient hour. An illuminated Moon on the far side of your horizon is not an observing target. Hills, buildings and trees can block it even when the calculated altitude is positive.
Look along the changing edge.
The boundary between the Moon’s sunlit and dark portions is called the terminator. Near that boundary, low-angle sunlight throws longer shadows across craters and mountains. The relief is often easier to notice than it is at full Moon, when much of the near side receives more direct sunlight.
A quarter Moon is a friendly place to start. Look for a large crater near the terminator, sketch its shape, then return on the next clear evening. The changing shadows can make familiar terrain look surprisingly different. The Moon’s near side remains broadly familiar because its rotation is synchronized with its orbit around Earth, though a subtle apparent rocking called libration lets us see a little around its edges over time.
Start with the dark patches.
With your eyes alone, compare the darker lunar plains with the brighter highlands. Those large dark areas are known as maria, Latin for “seas,” but they are ancient volcanic plains rather than bodies of water. Their patterns make useful landmarks for navigating a lunar map.
Binoculars can reveal more structure if you steady your elbows or use a suitable support. A telescope is optional, not an entry requirement. Begin with a wide view and low magnification. A shaky, high-power view usually teaches less than a stable, modest one.
Sun safety: never point binoculars, a telescope or an optical finder at the Sun without appropriate, properly fitted solar equipment and expert guidance. A thin crescent near the Sun is not a beginner target. This site is not a solar-viewing guide.
Make a ten-minute Moon diary.
Record the date, local time, phase, and one feature that caught your eye. Note whether the Moon is low or high and whether its edges look steady. Return a few days later. Repeated observations turn a bright disk into a familiar landscape, without requiring a shopping list.
For a longer session, use a detailed, correctly oriented lunar map. The view can be rotated or reversed through optical equipment; compare recognizable features before assuming left and right on a map match your eyepiece.
Further reading and factual references:
Original field note · Reviewed 10 November 2026.